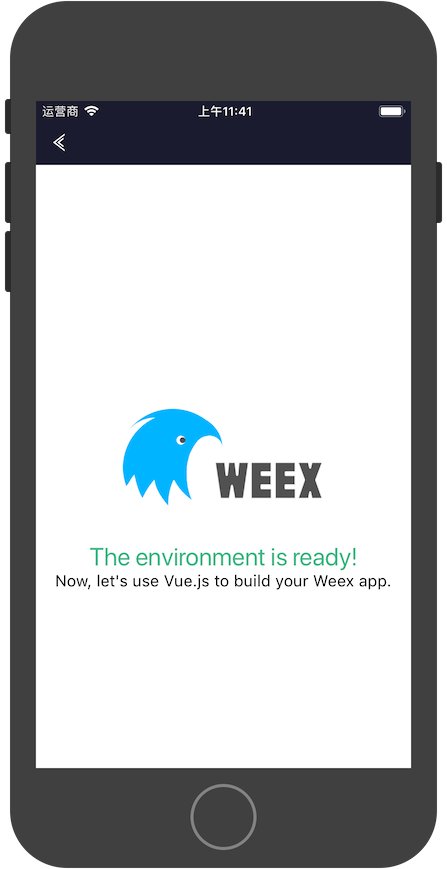
最近看了一下weex,将weex集成到了现有的iOS APP里,并且实现了一个静态页面的展示,做下记录。
一. 现有iOS应用的修改
1. 用cocopods引入WeexSDK
1
pod 'WeexSDK' , '0.18.0'
2. 在iOS APP里初始化Weex
didFinishLaunchingWithOptions里添加代码
1
2
3
4
5
6
7
8
9
10
11
12
13
14
15
16
17
18
//business configuration
[ WXAppConfiguration setAppGroup : @"TencentApp" ];
[ WXAppConfiguration setAppName : @"TIP" ];
[ WXAppConfiguration setAppVersion : @"1.0.0" ];
//init sdk environment
[ WXSDKEngine initSDKEnvironment ];
//register custom module and component,optional
//这里暂时用不到,之后再说
//[WXSDKEngine registerComponent:@"MyView" withClass:[MyViewComponent class]];
//[WXSDKEngine registerModule:@"event" withClass:[WXEventModule class]];
//register the implementation of protocol, optional
//如果在weex页面里需要下载网络图片,需要自己实现协议,如果没有,可以注释掉
[ WXSDKEngine registerHandler :[ WXImgLoaderDefaultImpl new ] withProtocol :@ protocol ( WXImgLoaderProtocol )];
//set the log level
[ WXLog setLogLevel : WXLogLevelAll ];
3. 在业务相关页面用weex渲染原生View
1
2
3
4
5
6
7
8
9
10
11
12
13
14
15
16
17
18
19
20
21
22
23
24
25
26
27
28
29
30
31
32
33
34
35
36
37
38
39
@interface IGWeexDemoViewController ()
@property ( nonatomic , strong ) WXSDKInstance * instance ;
@property ( nonatomic , strong ) UIView * weexView ;
@property ( nonatomic , strong ) NSString * url ;
@end
@implementation IGWeexDemoViewController
-( void ) viewDidLoad {
[ super viewDidLoad ];
// self.url = @"http://10.66.212.209:8081/dist/index.js";
self . url = @"http://weex-1251917893.cosgz.myqcloud.com/index.js" ;
_instance = [[ WXSDKInstance alloc ] init ];
_instance . viewController = self ;
_instance . frame = self . view . frame ;
__weak typeof ( self ) weakSelf = self ;
_instance . onCreate = ^ ( UIView * view ) {
[ weakSelf . weexView removeFromSuperview ];
weakSelf . weexView = view ;
[ weakSelf . view addSubview : weakSelf . weexView ];
};
_instance . onFailed = ^ ( NSError * error ) {
//process failure
};
_instance . renderFinish = ^ ( UIView * view ) {
//process renderFinish
};
[ _instance renderWithURL :[ NSURL URLWithString : self . url ]];
}
- ( void ) dealloc {
[ _instance destroyInstance ];
}
4. 运行效果
二. 生成js文件
在第一张的第3节中,原生View通过加载一个js文件,然后用Weex SDK进行渲染。这一章介绍js文件的生成方法。
1. 安装node
2. 安装weex-toolkit
1
npm install -g weex-toolkit
3. 初始化weex工程
1
weex create awesome-project
然后在项目根目录运行
安装项目依赖
4. 生成原生用到的js文件
运行这个命令,会在本地启动一个http server,原生终端用到的js文件就可以通过url访问了。生成的js在dist目录下,找到之后就可以拼出js的url了,例如
http://10.66.212.209:8081/dist/index.js%E3%80%82
三. 如何显示网络图片
运行demo后,会发现网络图片不能展示。原来weex初始并没有集成网络图片下载功能,需要自己去实现。方法如下
1.自定义图片下载协议WXImgLoaderProtocol
1
2
3
@protocol WXImgLoaderProtocol < WXModuleProtocol >
- ( id < WXImageOperationProtocol > ) downloadImageWithURL :( NSString * ) url imageFrame :( CGRect ) imageFrame userInfo :( NSDictionary * ) options completed :( void ( ^ )( UIImage * image , NSError * error , BOOL finished )) completedBlock ;
@end
2.协议的实现类WXImgLoaderDefaultImpl
1
2
3
4
5
6
7
8
9
10
11
12
13
14
15
16
17
18
19
20
21
//WXImgLoaderDefaultImpl.h文件
@interface WXImgLoaderDefaultImpl : NSObject
@end
//WXImgLoaderDefaultImpl.m文件
@implementation WXImgLoaderDefaultImpl
#pragma mark WXImgLoaderProtocol
- ( id < WXImageOperationProtocol > ) downloadImageWithURL: ( NSString * ) url imageFrame: ( CGRect ) imageFrame userInfo: ( NSDictionary * ) userInfo completed: ( void ( ^ )( UIImage * image , NSError * error , BOOL finished )) completedBlock
{
if ([ url hasPrefix : @"//" ]) {
url = [ @"http:" stringByAppendingString : url ];
}
return ( id < WXImageOperationProtocol > )[[ SDWebImageManager sharedManager ] downloadImageWithURL :[ NSURL URLWithString : url ] options : 0 progress : ^ ( NSInteger receivedSize , NSInteger expectedSize ) {
} completed : ^ ( UIImage * image , NSError * error , SDImageCacheType cacheType , BOOL finished , NSURL * imageURL ) {
if ( completedBlock ) {
completedBlock ( image , error , finished );
}
}];
}
@end
3.在weex初始化的时候注册协议
1
[ WXSDKEngine registerHandler :[ WXImgLoaderDefaultImpl new ] withProtocol :@ protocol ( WXImgLoaderProtocol )];
四. todo
后续还有一些问题要研究
weex页面里,如何调用native的网络模块获取到数据
多页面的跳转
调试工具weex devtool的使用方法
如何构建发布流程
